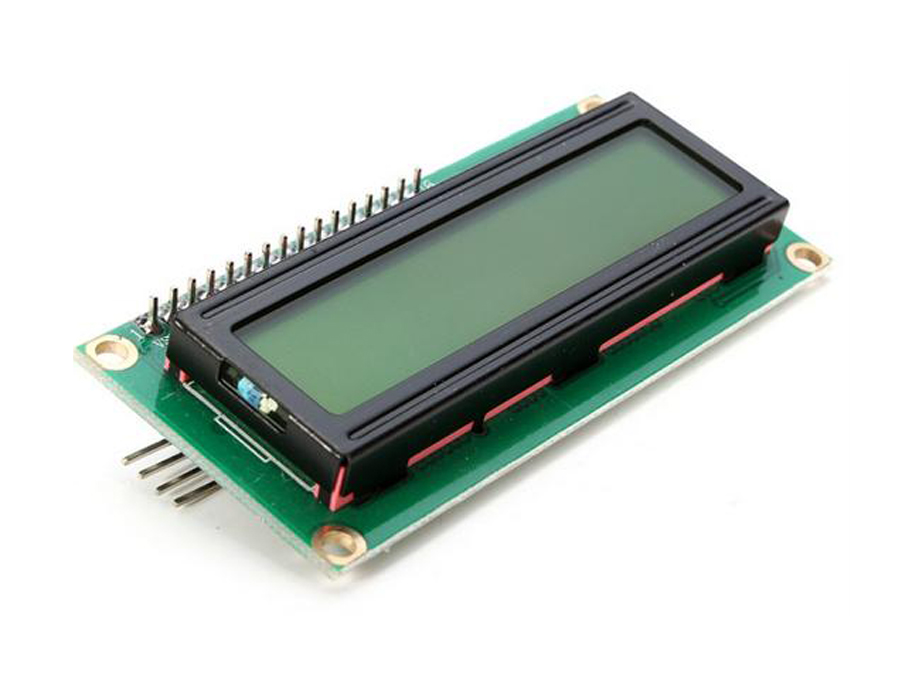
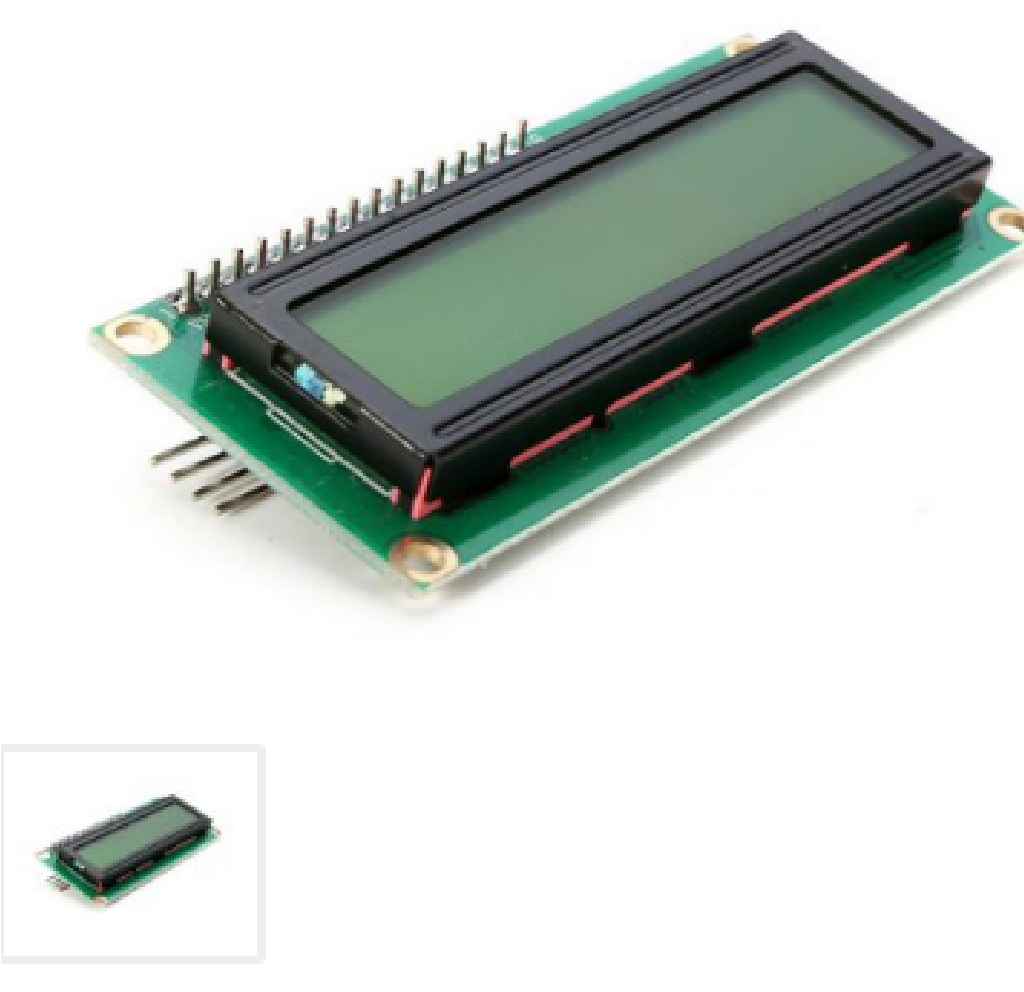

Màn hìnhLCD1602 + I2C Arduino
- VSS: tương đương với GND - cực âm
- VDD: tương đương với VCC - cực dương (5V)
- Constrast Voltage (Vo): điều khiển độ sáng màn hình
- Register Select (RS): điều khiển địa chỉ nào sẽ được ghi dữ liệu
- Read/Write (RW): Bạn sẽ đọc (read mode) hay ghi (write mode) dữ liệu? Nó sẽ phụ thuộc vào bạn gửi giá trị gì vào.
- Enable pin: Cho phép ghi vào LCD
- D0 - D7: 8 chân dư liệu, mỗi chân sẽ có giá trị HIGH hoặc LOW nếu bạn đang ở chế độ đọc (read mode) và nó sẽ nhận giá trị HIGH hoặc LOW nếu đang ở chế độ ghi (write mode)
- Backlight (Backlight Anode (+) và Backlight Cathode (-)): Tắt bật đèn màn hình LCD.
Cách test mã i2c
i2c có mã riêng nên một số bạn viết code không biết nhập mã riêng này thì thông số nó không hiển thị được. Ví dụ code có đoạn mã:
#include
#include
LiquidCrystal_I2C lcd(0x27,16,2);
Vậy lcd(0x27,16,2): số 0x27 sẽ tùy thuộc vào loại i2c. Để biết được thông số đó bạn dùng code sau để test, bạn xem thông số đó trên monitor của chương trình nạp Arduino
// --------------------------------------
// i2c_scanner
//
// Version 1
//This program (or code that looks like it)
//can be found in many places.
//For example on the Arduino.cc forum.
//The original author is not know.
// Version 2, Juni 2012, Using Arduino 1.0.1
//Adapted to be as simple as possible by Arduino.cc user Krodal
// Version 3, Feb 26 2013
//V3 by louarnold
// Version 4, March 3, 2013, Using Arduino 1.0.3
//by Arduino.cc user Krodal.
//Changes by louarnold removed.
//Scanning addresses changed from 0...127 to 1...119,
//according to the i2c scanner by Nick Gammon
//http://www.gammon.com.au/forum/?id=10896
// Version 5, March 28, 2013
//As version 4, but address scans now to 127.
//A sensor seems to use address 120.
// Version 6, November 27, 2015.
//Added waiting for the Leonardo serial communication.
//
//
// This sketch tests the standard 7-bit addresses
// Devices with higher bit address might not be seen properly.
//
#include
void setup()
{
Wire.begin();
Serial.begin(9600);
while (!Serial);// Leonardo: wait for serial monitor
Serial.println("\nI2C Scanner");
}
void loop()
{
byte error, address;
int nDevices;
Serial.println("Scanning...");
nDevices = 0;
for(address = 1; address < 127; address++ )
{
// The i2c_scanner uses the return value of
// the Write.endTransmisstion to see if
// a device did acknowledge to the address.
Wire.beginTransmission(address);
error = Wire.endTransmission();
if (error == 0)
{
Serial.print("I2C device found at address 0x");
if (address<16)
Serial.print("0");
Serial.print(address,HEX);
Serial.println(" !");
nDevices++;
}
else if (error==4)
{
Serial.print("Unknown error at address 0x");
if (address<16)
Serial.print("0");
Serial.println(address,HEX);
}
}
if (nDevices == 0)
Serial.println("No I2C devices found\n");
else
Serial.println("done\n");
delay(5000);// wait 5 seconds for n
}
Chúc bạn một ngày vui vẻ!
Sản phẩm do shop giải pháp chung cung cấp, bạn có thể liên hệ với nhà bán hàng để có thêm thông tin chi tiết.
Sản phẩm đúng như hình ảnh đăng tải.
***